Match Game: Specifying the Right Projection Screen for the Presentation Space


Mount projection screens on a wall or a ceiling for easy access and then tuck them away in their attached protective case when not in use. If the space demands something a little more discrete, projection screens can be easily recessed into the ceiling, completely removing it from the visual field when not being used.
There are a few applications that would not be a fit for a recessed ceiling mount. For example, recessing a projection screen in an application with an especially high ceiling, such as the sixty foot ceilings in some churches, is not an especially viable option. When the desired screen size is only a 9' x12', it does not make any sense to attach enough fabric to it to drop the projection screen to its desired position 30 feet below.
|
Portable or Fixed Frame
Is the projection screen being shared between multiple conference rooms or should it be an aesthetic fixture in the space? Both are
possible with today's technology.
Portable screens are now available with black backing. This black backing reduces the amount of light interference incurred from the other side of the screen, dramatically improving the quality of the image projected on these mobile presentation screens. The portable cases have also been made smaller and lighter so it is easier to move projection screens from one presentation to the next.
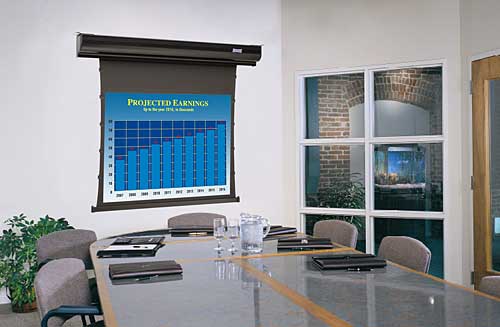
Fixed frames are good fits for rooms that host presentation after presentation and where the clients do not want to put the screen away. Mounted to a wall like a picture, this type of frame does not need to be hard-wired into the space like its electric counterparts. Fixed frames accommodate both front and rear projection methods.
Screen Borders
Human eyes focus better onto a particular image when it is bordered. Bordered images are also perceived to have more contrast, brighter colors, and be, overall, a sharper image. That fundamental feature of our visual system is responsible for frames around art and margins on paper. Borders around a projection screen also enhance the professionalism of the presentation by allowing the projected image to, in print terms, "bleed-off" of the screen.
To provide the best viewing environment for an audience, specify that black borders be included on the projection screens in the space. Without the clearly defined boundary of the screen, the images can get lost as audience members try to disseminate the edge of the fabric from the supporting wall behind the screen.
Drop
The term drop in the projection screen industry refers to extra fabric that is added to the top or bottom of the screen to position the screen surface within normal viewing heights. An example of when this may be used is in a building with high ceilings. If there is a 15 foot ceiling and a 6' x 8' projection screen is going to be mounted so that
the bottom of the screen is 4 feet or 48 inches off of the ground, the project demands 5 feet of drop to be added to the top of the screen
and mounted to the ceiling.
How To Specify a Projection Screen
The projector and the projection screen are undeniably a team, but when specifying a classroom, conference room, auditorium, or theater, which piece of equipment should be selected first? Approaching these presentation spaces in the following order can relieve headaches and technical misfits that may only be uncovered after the space is completed:
First, identify the height of the screen that will best fit the audience configuration and the dimensions of the room. Establishing the height of the projection screen first ensures that all audience members will be able to see the presentation comfortably.
Then, review the light conditions of the space. Determine the projector output (high, medium, or low) that will be necessary to maintain the target 5:1 contrast ratio between the brightness of the projection screen and its surrounding environment.
Next, examine which format will be the most appropriate for the type of information or entertainment presented. Select a projector that provides the level of output desired with a native aspect ratio that matches the appropriate format. Apply the recommended screen height to the selected aspect ratio in order to resolve the width of the screen. Select a screen surface that appropriately accommodates the projector output, projected material, and environment of ambient light, while providing the visual angles, uniformity, resolution, and gain required by the space.
Investigate how projection will be used in the space and specify the level of control-manual, electric, integrated-and the mounting type.
Last, but not least, specify black borders to frame the presentation screen and check to see if a drop is required.
|

Notice